Load image into Gallery viewer, Ezy Anchor Outback Pack

SKU: AN-0006

Ezy Anchor Outback Pack

Vendor Ezy Anchor
Regular price $85.00
Sale price $85.00 Regular price
Sale Sold out
Unit price
/per 
This is a pre order item. We will ship it when it comes in stock.

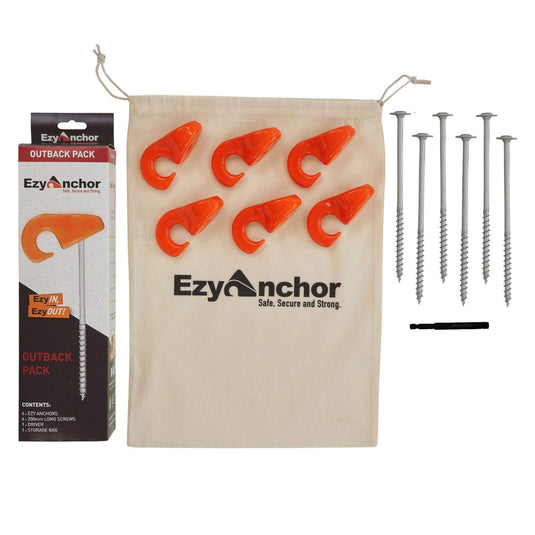
The Outback Pack is designed for those who spend the majority of their time travelling within Australia and away from the Coastal soils, it is designed for areas such as The Far Outback and Centre of Australia. It is designed for the hard red dirt and gravelly surfaces found in these areas.

PACKAGE INCLUDES:

  • 1 Driver
  • 6 Ezy Anchors
  • 6 x 200mm Long Screws
  • Storage Bag

These packs have been determined by months of personal use and testing in both types of the areas detailed above and also research throughout Central and Outback Australia.

WE THANK YOU FOR YOUR PURCHASE AND WISH YOU MANY YEARS OF HAPPY USE OF YOUR EZY ANCHORS!

**EZY ANCHOR SUPPORTS AUSTRALIAN BUSINESS AND JOBS**

*We cannot accept responsibility for damage and injuries caused by misuse.

INSTALLATION:

  1. Take your cordless drill or impact driver
  2. Connect the Torx driver bit to the drill/driver and secure in the chuck
  3. Pick up your Ezy Anchor with screw in position through the Ezy Anchor
  4. Connect your guy rope to the hook
  5. Hold the guy rope and hook together with your guiding hand
  6. Pick up the drill and driver in your driving hand
  7. Insert the Torx driver into the head of the screw
  8. Place drill in forward drilling position
  9. Commence drilling the screw downward into the earth keeping the EzyAnchor parallel to the earth so the screw penetrates at its set angle.
  10. Installation complete

Should you strike a solid object whilst installing the screw, remove and reposition the screw to another position close to or adjacent to the original required position.

REMOVAL:

  1. With your drill in hand and Torx driver bit connected and secured within your drill chuck connect the Torx bit driver to the screw head.
  2. Hold the hook and guy rope in one hand, place drill in reverse and screw out.
  3. Removal complete

*In the event of a flat battery you can connect a shifting spanner to the driver bit shaft and unscrew manually to a point where you can remove the screw from the ground.
**Remember to regularly charge your drill or impact driver battery.